Configuring an OPC-DA collector
The OPC-DA collector in Factry Historian allows you to connect to an OPC-DA server and collect process values. Once configured, the data is historized and made available for further processing in Factry Historian, and for trending, reporting, and analysis.
Prerequisites
- Permissions in Factry Historian to manage collectors. See PrivilegesPrivileges.
- An installed OPC-DA collector. If you have not done so already, first install the collector.
- A working OPC-DA connection. If you are running into issues or setting this up for the first time, follow our guide to test an OPC-DA connection.
- A configured time-series database to write the collected data to.
Configure the collector
After installing the collector, you should be able to see that the collector is in an initial state and is actively running. This means that the collector has established a connection to Factry Historian and is awaiting further configuration.
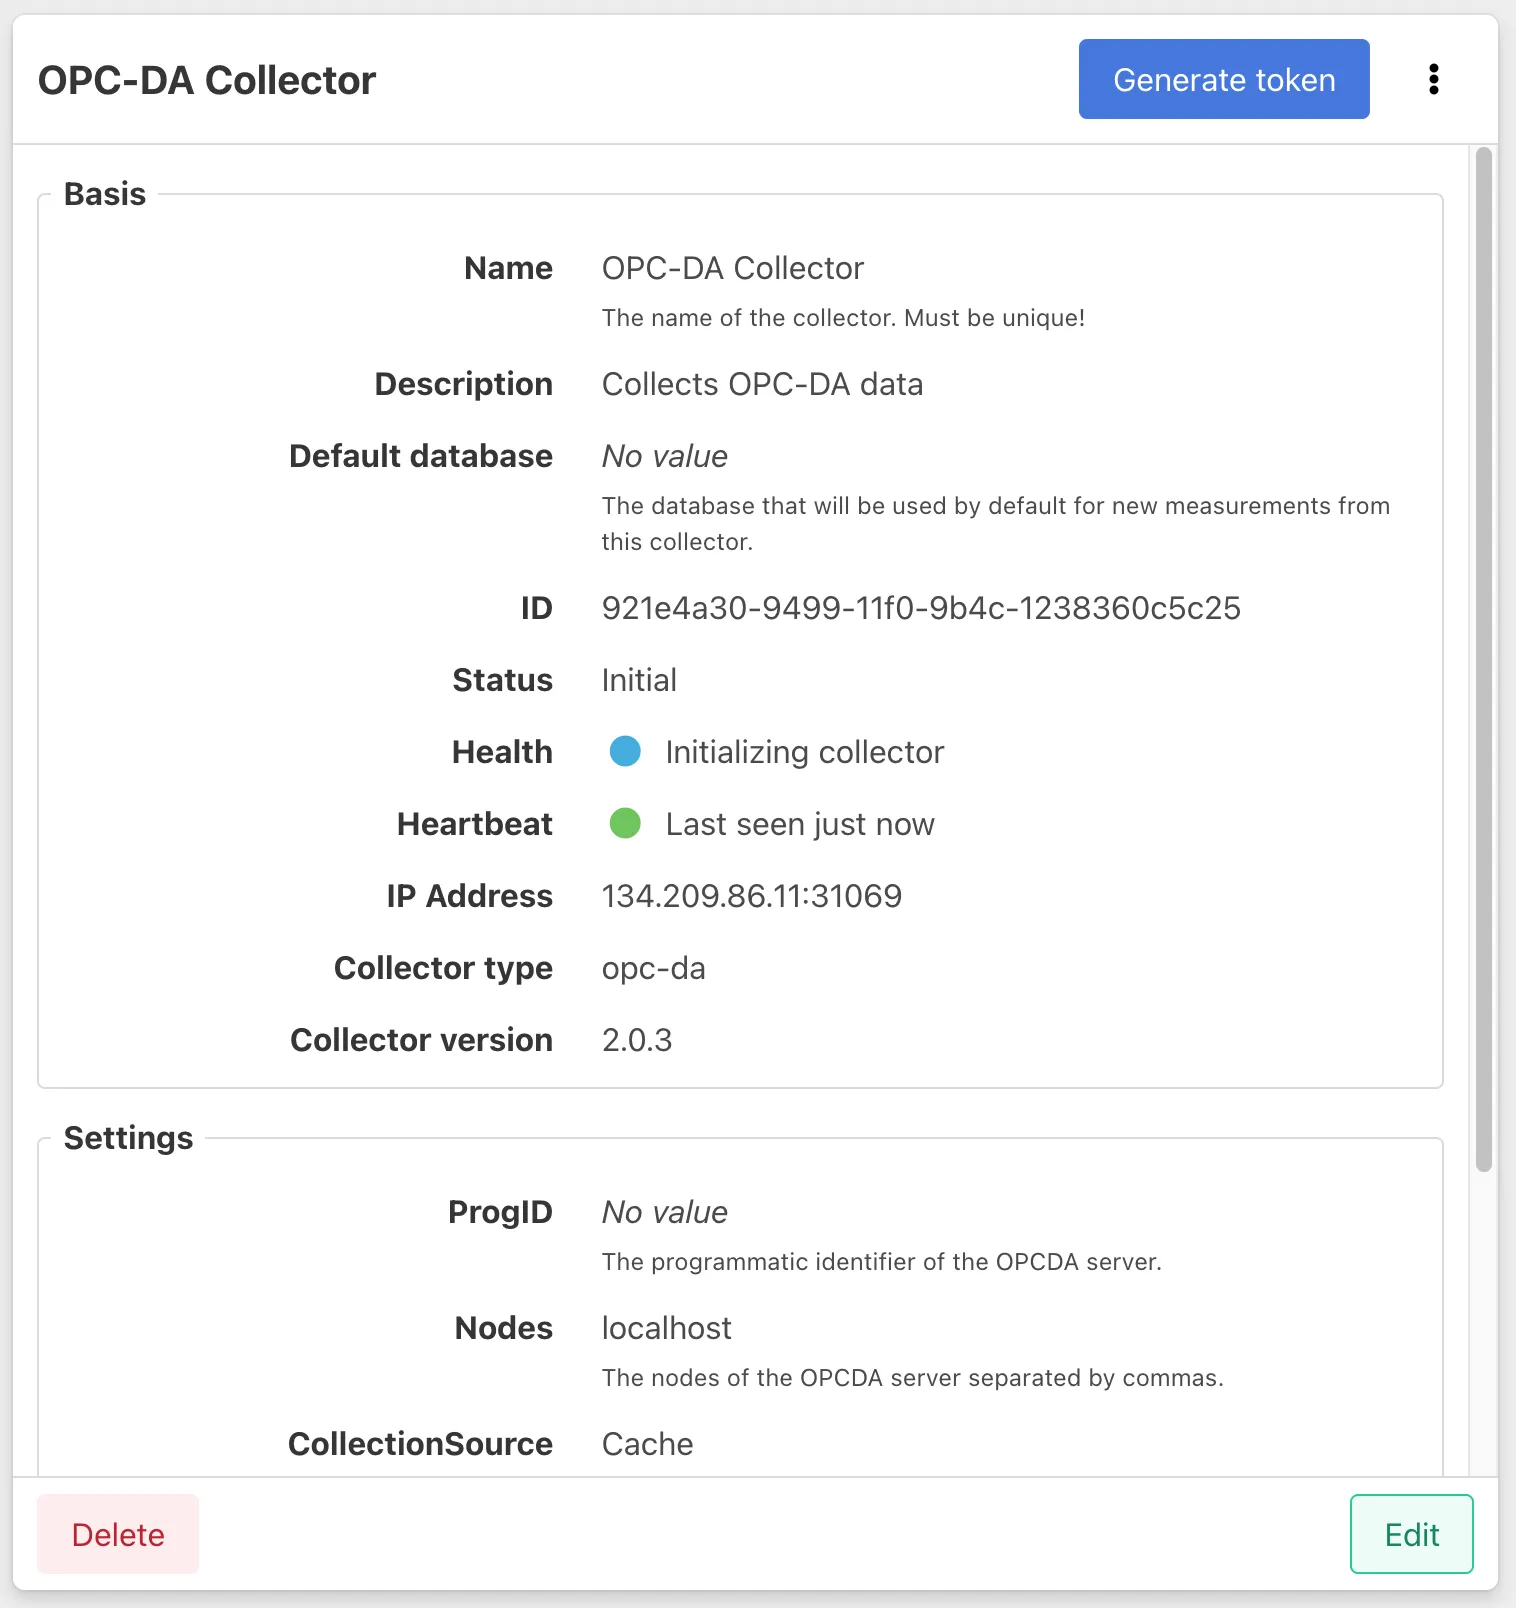
To configure the collector, select it from the Collectors overview in Factry Historian and click the Edit button. Configure the following fields:
ProgID
This is the programmatic identifier of the OPC-DA server to connect to.
The ProgID must exactly match the one exposed by your OPC-DA server. If you are unsure which one to use, check the server’s ID in your OPC-DA server configuration or discovery tool. For example:
- Graybox.Simulator.1
- Matrikon.OPC.Simulation.1
If you’re having trouble connecting to the OPC-DA endpoint, see this page:Testing an OPC-DA connection
Nodes
This is a comma-separated list of the nodes of the OPC-DA server. For single-node servers, the default value of localhost should suffice. For setups involving multiple servers with the same ProgID, this setting is used to specify which node or nodes to connect to.
CollectionSource
The collection source controls where data is read from
- Cache: fast read, returns data already stored on the OPC-DA Server
- Device: slower read, fetches the most up-to-date values from the underlying automation devices
Example
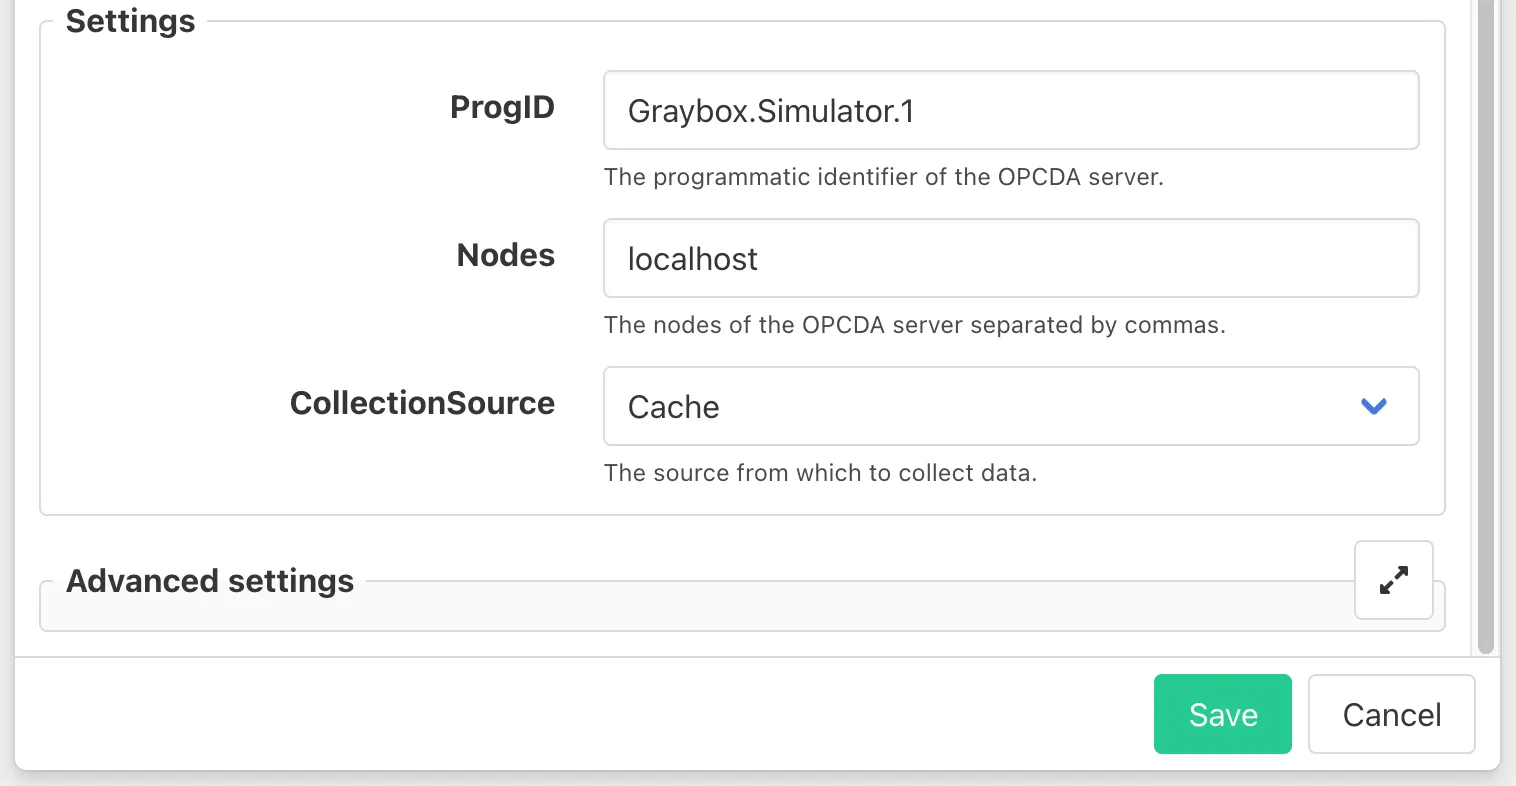
Then, click Save.
Expected outcome
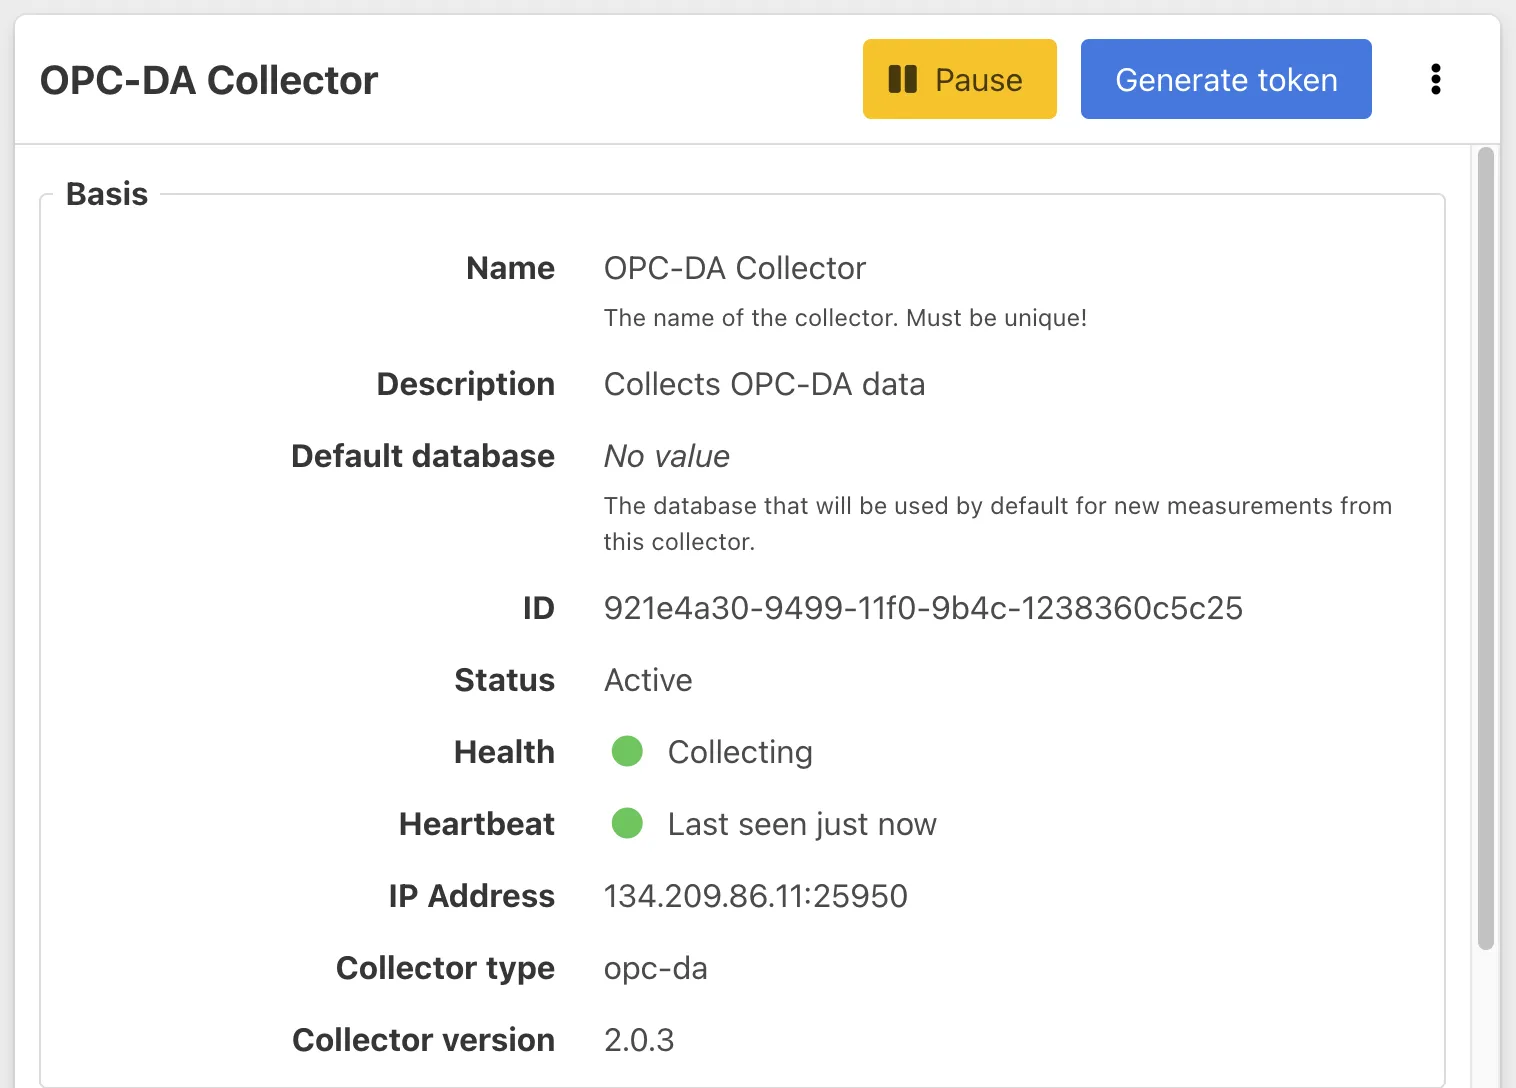
After you have configured the collector, a green Start button will appear in the top right corner of the collector page.
- Click Start to launch the collector.
If the connection is successful, you should observe the collector status change to Collecting.
Adding measurements
Follow the guide on Adding measurements to an OPC-DA collector.
Best practices
Timestamps
Make sure all clocks (collector, server, devices) are synchronized, for example using NTP.